Tuesday, February 25, 2014

Heartfelt Creations Wednesday - You Are Simply the Best

Hello Friends!
Today is Heartfelt Creations Wednesday!! I have made another card using the Raindrops on Roses Collection which I love.


Heartfelt Creations Products and Products Carried by HC:


Other Products Used:

Neenah Paper Natural White Cardstock, Metallic Pearl Cardstock, Copic Markers, Rangers Distress Inks, Memento Tuxedo Black Ink Pad, Color Box Chalk in Warm Violet, Foam Squares, Tiny Beads, Rangers Glossy Accents.

Project Instructions:

The card size for this project is  6 ¼”  x 6 ¼”.  Cut out one of the 6” x 6” card panels from Raindrops on Roses Paper Collection and adhere to card base.
Die cut lattice piece from Raindrops on Roses Die set with metallic pearl cardstock and adhere to card. 
Stamp Lady Rosalie on natural white cardstock with black ink. Fussy cut, color with Copic markers and adhere to card using foam squares.  Stamp sentiment on card with black ink.
Stamp leaves on natural white cardstock with black ink. Die cut with coordinating Classic Leaf Dies. Color, shape and adhere to card using foam squares.
Stamp Vintage Morning Background with chalk ink and die cut with Majestic Blooms Die. Color with distress ink and 3D Stamp Paint, shape and adhere to card. Glue tiny beads in the center of flowers using Glossy Accents.
Be sure to visit the Heartfelt Creations Blog for more inspiration.
Thanks for visiting! Hugs!
Marisa

Tuesday, February 18, 2014

Heartfelt Creations Wednesday - You Are the Best Tag

Hello Friends!
I'm excited to share another project created with the beautiful products from Heartfelt Creations. For my tag I used the new Raindrops on Roses Collection.


Heartfelt Creations Products and Products Carried by HC:


Other Products Used:

Pearl Metallic Cardstock, Neenah Paper Natural White Cardstock, Ranger Distress Inks, Memento Tuxedo Black Ink Pad, Color Box Chalk Ink Pad in Warm Violet, Purple Tiny Glass Beads, Seam Binding Ribbon, Ranger Glossy Accents, Foam Squares.

Instructions:

The Tag size is about 8 ½” by 3 ½”. Cut a 3 ½” x 6” piece with Raindrops on Roses Paper Collection. Die cut 2 decorative pieces with Raindrops on Roses die set using pearl metallic cardstock. Glue pieces to top and bottom of tag.
Stamp Classic Leaf and Open Leaf with black ink onto natural white cardstock. Die cut with coordinating Classic Leaf Die. Color leaves with distress ink and attach to tag.
Stamp Vintage Morning Background on natural white cardstock with Color Box Chalk Ink Pad. Die cut with coordinating Majestic Blooms Die. Color edges with 3D Stamp Paint. Shape flowers and glue onto tag. Glue tiny beads to center of flowers using Glossy Accents.
Cut out one of the small tags from Raindrops on Roses Paper Collection and attach to tag using foam squares.
Make a bow with seam binding ribbon and attach to top of tag.
 
Be sure to visit the Heartfelt Creations Blog for more inspiration.
 
Thanks for visiting! Hugs!
Marisa
 

Tuesday, February 11, 2014

Heartfelt Creations Wednesday - Happy Birthday Card

Hello Friends!
We are pleased to introduce the Raindrops on Roses Collection.
The decorative and intricacy of this die will enable you to create frames, borders, and endless opportunities for layering with your favorite images. Pick up the classic image stamps to create a stunning masterpiece. These background, accents and sentiment stamps will add a delightful classic touch to every project you create.
The Raindrops on Roses paper pack is loaded with saturated greens and purples and sprinkled with colorful clusters of roses. Card panels, 6x6 sheets, colored tags and journaling blocks will add the finishing touches to your projects.
Leave a comment on the Heartfelt Creations Blog by February 18th to be entered to win the entire collection valued at $175.93.


Heartfelt Creations Products and Products Carried by HC:


Other Products Used:

Pearl Metallic Cardstock, Neenah Paper Natural White Cardstock, Memento Tuxedo Black Ink, Rangers Distress Inks in Forest Moss and Seedless Preserves.

Instructions:

The card size for this project is 6 ¼” x 6 ¼”.  Cut a 6” x 6” piece of natural white cardstock, color edges with distress ink and adhere to card base. Cut a 5 ¾” x 5 ¾” piece using Raindrops on Roses Paper Collection, distress edges and adhere to card.
Cut 4 pieces of designer paper measuring 2 ½” x 2 ½”, distress edges. Mat with cardstock and adhere to card.
Cut out one of the frames from Raindrops on Roses Paper Collection, mat with cardstock. Stamp sentiment with black ink and adhere to center of card.
Stamp Vintage Morning Background with distress ink onto natural white cardstock. Die cut with coordinating Majestic Blooms die. Color edges of flowers with 3D Stamp Paint, shape flowers and adhere to card using glue.
Stamp leaves with Open Leaf stamp, die cut with coordinating Classic Leaf die. Color with distress inks, shape and glue under flowers.
Die cut doily from Raindrop on Roses using pearl metallic cardstock, cut in half and glue under sentiment frame.

Be sure to visit the Heartfelt Creations Blog for more inspiration. 


Thanks for visiting! Hugs!

Marisa

Sunday, February 9, 2014

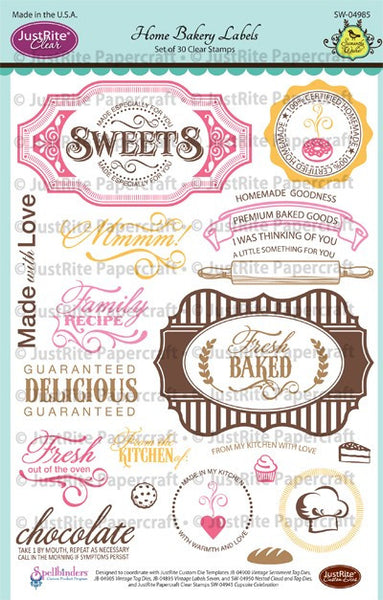
JustRite Papercraft February Release - Home Bakery Labels Clear Stamps

Hello Friends!
Welcome to Day 5 of the JustRite Papercraft February Release. Today we are showcasing Home Bakery Labels Clear Stamps and coordinating Vintage Tag Dies. I just love both sets, they are perfect for labeling all your baked goods and surprising your loved ones.


  Home Bakery Labels Clear Stamps    Vintage Tag Dies


Instructions:

1. Gift Box is 4" x 4" and 3 1/2" high. Cover box with designer paper. Color edges with distress ink.
2. Stamp "Fresh Baked" sentiment from Home Bakery Labels Clear Stamps in brown ink on natural white cardstock and die cut with coordinating die from Vintage Tag Dies. Adhere to box using foam squares.
3. Stamp "From My Kitchen with Love" sentiment on banner from Home Bakery Labels Clear Stamps, fussy cut and adhere to box lid using foam squares.
4. Die cut flower using Spellbinders Anemone Flower Topper and leaves using Foliage. Attach to top of box using foam squares.


Supplies:

JustRite Papercraft: Home Bakery Labels Clear StampsVintage Tag Dies
Spellbinders Dies:  Anemone Flower Topper, Foliage
Other Supplies: Gift Box, Neenah Natural White Cardstock, Authentique Cherish Paper Collection, Memento Rich Cocoa Ink Pad, Ranger Distress Ink, Foam Squares.


Be sure to visit the links bellow for more inspiration.

Marisa Job (here)


Thanks for visiting! Hugs!

Marisa


Saturday, February 8, 2014

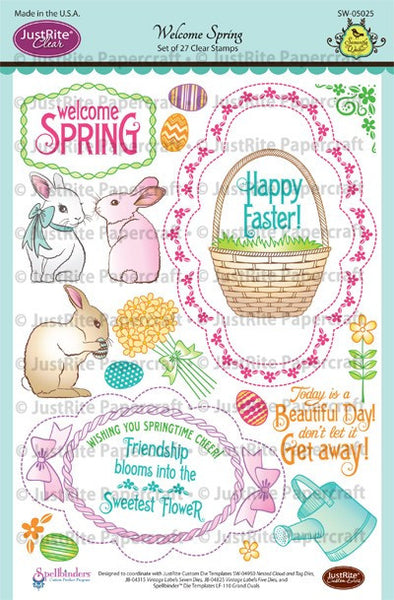
JustRite Papercraft February Release - Welcome Spring Clear Stamps

Hello Friends!
Welcome to Day 4 of the JustRite Papercraft February Release. Today we are showcasing a beautiful set of 27 clear stamps called Welcome Spring and a coordinating set of dies called Nested Clouds and Tag Dies.


   Welcome Spring Clear Stamps     Nested Cloud and Tag Dies


Instructions:

1. Card base is 6 1/2" x 4 1/2" in green cardstock.
2. Next layer is 6 1/4" x 4 1/4" in pink cardstock.
3. Die cut Spellbinders Crisscross in white cardstock and adhere to card. Embellish with rhinestones.
4. Stamp images from Welcome Spring on natural white cardstock and die cut with coordinating die from Nested Clouds and Tag Dies. Color images with Copic markers and adhere to card using foam squares.
5. Stamp Happy Easter sentiment from Welcome Spring and die cut with coordinating die from Nested Clouds and Tag Dies. Adhere to card using foam squares.
6. Die cut flowers using Spellbinders Rose Creations, embellish with rhinestones and attach to card. Die cut leaves with Foliage and attach to card under flowers.
7. Make a bow with silk pink ribbon and attach to card as pictured.

Supplies:

JustRite Papercraft: Welcome SpringNested Clouds and Tag Dies
Spellbinders Dies: CrisscrossRose CreationsFoliage
Other Supplies: Neenah Paper Natural White Cardstock, Green and Pink Cardstock, Memento Black Ink, Copic Markers, Rhinestones, May Arts Pink Silk Ribbon, Foam Squares.

Be sure to visit the links bellow for more inspiration.

Marisa Job (here)

Thanks for visiting! Hugs!

Marisa 

Friday, February 7, 2014

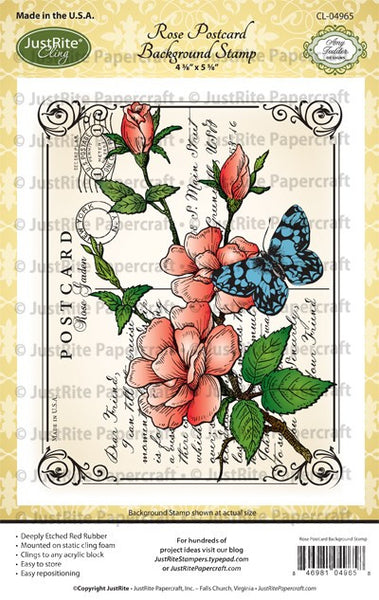
JustRite Papercraft February Release - Rose Postcard Cling Background Stamp

Hello Friends!
Welcome to Day 3 of the JustRite Papercraft February Release. Today we are showcasing another beautiful background stamp called Rose Postcard Background Stamp. I had fun coloring the flowers and butterfly images on my card.


Rose Postcard Cling Background Stamp


My card base is 7 1/2" x 6 1/2" in black cardstock. The next layer was cut a bit smaller using designer cardstock, I distressed the edges and colored with brown distress ink.
I stamped Rose Postcard Background Stamp twice with black ink onto natural white cardstock. I colored the images with distress markers and the edges with distress ink. I fussy cut the larger flower and butterfly and attached to image using foam squares. 
I die cut 2 Spellbinders Flourish Trim in black cardstock and glued to card as pictured. I used some pearl trim to embellish postcard sides. 
The bow was created with pink seam binding ribbon. 

Supplies:

JustRite Papercraft: Rose Postcard Background Stamp
Spellbinders Dies: Flourish Trim 
Other Supplies: Neenah Paper Black and Natural White Cardstock, Prima Marketing Art Journal Pad, Memento Tuxedo Black Ink, Rangers Distress Markers and Distress Ink Pads, Pearl Trim, Seam Binding Ribbon, Foam Squares.

Be sure to visit the links below for more inspiration.  

Thanks for visiting! Hugs!

Marisa

Wednesday, February 5, 2014

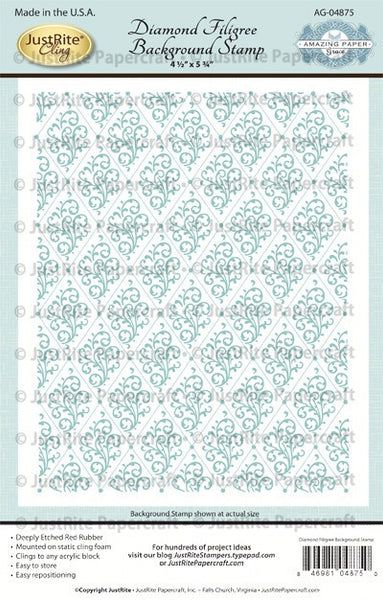
JustRite Papercraft February Release - Diamond Filigree Background Stamp

Hello Friends!
Welcome to Day One of the JustRite Papercraft February Release. Today we are showcasing two beautiful stamp sets called Diamond Filigree Cling Background Stamp and Happy Occasion Belly Band Two Clear Stamps. For my card I decided to use Diamond Filigree Cling Background Stamp.


  Diamond Filigree Cling Background Stamp 


    Vintage Labels Seven Dies   Ribbon & Swags Vintage Labels Seven Clear Stamps


My Center Step card is about 5 3/4" x 5 3/4". To make a Center Step card, follow the instructions Here.
I stamped Diamond Filigree Cling Background Stamp on designer cardstock with black ink and cut 4 pieces to fit the Center Step panels.
I stamped the label and sentiment from the Ribbon & Swags Vintage Labels Seven Clear Stamps set on designer paper with black ink and die cut it with coordinating die from Vintage Labels Seven Dies. I adhered label to card using foam squares.
The flowers were die cut with Spellbinders Rose Creations using natural white cardstock, and the leaves were die cut with Foliage and Sprigs. Flowers and leaves were colored with distress inks.
For the bow I used May Arts Silk Ribbon.

Supplies:

JustRite Papercraft: Diamond Filigree Cling Background StampRibbon & Swags Vintage Labels Seven Clear StampsVintage Labels Seven Dies
Spellbinders Dies: Rose CreationsFoliageSprigs
Other Supplies: Prima Marketing Art Journal Pad, Orange Cardstock, Neenah Paper Natural White Cardstock, Memento Tuxedo Black Ink, Ranger Distress Inks, May Arts Silk Ribbon, Foam Squares.

Be sure to visit the JustRite Papercraft Designer Team Members below for more inspiration.

Marisa Job (here)


Thanks for visiting! Hugs!

Marisa