Tuesday, July 29, 2014

Special Wishes Flower Basket

Hello Friends,
I have a flower basket to share with you today. I had a lot of fun making this flower basket and I hope you are encouraged to make one too. The beautiful dies and stamps make it really easy to create this project.


Instructions:

For basket base, cut a sheet from Raindrops on Roses Paper Collection to 11” x  11”. Score at 3” on 4 sides and make 4 cuts from border to the 3” score mark as pictured below.


Die cut and emboss 4 pieces using the Galicia die set and Raindrops on Roses paper collection. Color edges and embossed area with distress ink. Glue 4 die cut pieces to the 4 sides of basket. Fold sides of the basket at the scored lines and glue sides together to form basket.
Die cut bows using Filigree 3D Bow and Classic 3D Bow with contrasting paper colors and layer together to form bow. Die cut 2 Filigree strips from the die set and glue onto a ¾” x  11” piece of cardstock to make handle. Attach handle to basket with strong tape.  Assemble bow together and glue at the top of handle.
Cut 4 pieces measuring 3” x 5” with floral sheet from Raindrops on Roses and glue to the inside of the basket for a finished look.
Die cut 4 tickets from the paper collection and adhere to 4 sides of basket with foam squares.
Stamp and die cut Arianna Blooms using Warm Violet chalk ink and gray cardstock. Color edges with Violet Metallic paint, shape flowers and glue on 4 sides of basket. Die cut leaves using the small vines from the Cut, Mat, Create sets and glue under flowers.


Supplies:

Creative Expressions Craft Dies by Sue Wilson:  Spanish Collection Galicia, Finishing Touches Filigree 3D Bow and Classic 3D Bow. For my American friends, you can find Sue Wilson’s dies at the Frantic Stamper.
Neenah Paper Antique Gray Cardstock, Color Box Chalk Inkpad in Warm Violet, Ranger Distress Inks, Pearls, Glue Gun, Foam Squares.


Thanks for visiting! Hugs!
Marisa


Tuesday, July 22, 2014

Heartfelt Creations Wednesday - Little Angel Layout

Hello Friends!
Today I have a layout of our grand baby when she was 4 months old. She is 14 months old now, a very happy and active baby with a great sense of humor. We love her so much!!
The pictures were die cut with the new Cut, Mat, Create die sets from Heartfelt Creations. It was so easy to do, no more measuring!!


Heartfelt Creations Products and Products Carried By HC:
 
Other Products Used:
Metallic White, Pink, Yellow and Green Cardstock, Memento Brown Ink, Distress Inks, Foam Squares, Pink and White Pearls.
 
Project Instructions:
Distress edges from a 12 x 12 sheet from the Sweet Lullaby Paper Collection, color edges with pink distress ink and adhere to white metallic cardstock base. Cut 2 smaller layers in contrasting colors, distress edges and adhere to page to make background.
Using Cut, Mat, Create die sets, cut pictures and matting layers in pink metallic cardstock. Adhere to page using tape. Stamp Little Angel sentiment and die cut with coordinating die, adhere to center of page using foam squares.
Die cut 2 lattice decorative pieces, cut in half and glue under pictures. Die cut booties in white metallic cardstock and attach to page with foam squares.
Die cut flowers and leafy swirls using metallic cardstock, shape flowers and attach to page using glue. Embellish flowers with rhinestones.
Be sure to visit the Heartfelt Creations Blog for more inspiration from the Design Team.


Thanks for visiting! Hugs!
 

Marisa


Tuesday, July 15, 2014

JustRite Papercraft July Release - Merry Wishes Vintage Labels Seven

Hello Friends!
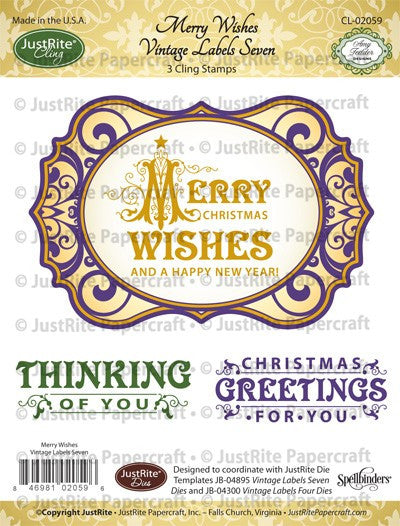
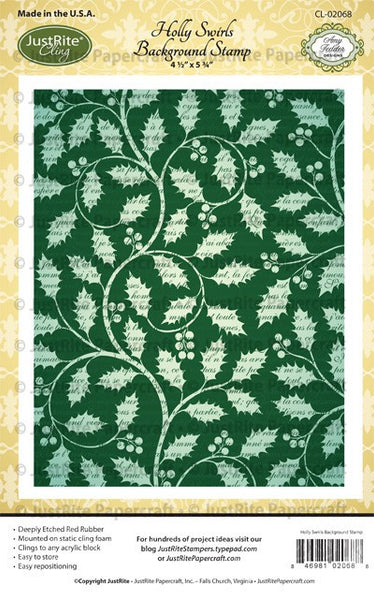
Welcome to Day Nine of the JustRite Papercraft July Release. I've been having so much fun playing with all the new gorgeous stamp sets and dies. For my card today I used Merry Wishes Vintage Labels Seven Cling Stamps and Holly Swirls Background Stamp. I also used Vintage Labels Seven Dies.


 Merry Wishes Cling Stamp


    Holly Swirls Cling Background Stamp    Vintage Labels Seven Dies


I started by making a 5" x 5" card base in natural white cardstock. I cut a smaller layer in red cardstock and adhered to card base.
I stamped Holly Swirls Background Stamp on white cardstock with green ink. I cut the background in squares to make a grid and adhered them to card.
The label and sentiment from Merry Wishes Vintage Labels Seven Cling Stamps were stamped with green ink and die cut with coordinating die from Vintage Labels Seven Dies.
The flowers were stamped with Festive Poinsettia Clear Stamps and die cut with Spellbinders Layered Poinsettia Dies. I used Spellbinders Corner Sprigs dies to cut the swirls under the flowers.


Supplies:

JustRite Papercraft:  Merry Wishes Vintage Labels Seven Cling Stamps, Holly Swirls Background Stamp, Vintage Labels Seven Dies, Festive Poinsettia.
Spellbinders Dies: Layered Poinsettia Dies, Corner Sprigs.
Other Supplies: Neenah Paper Natural White Cardstock, Red Cardstock, Rangers Distress Ink, Foam Squares, Red Pearls.

Be sure to visit the links below for more inspiration from the JR Design Team.


JustRite Inspiration
Heidi Blankenship
Eva Dobilas
Marisa Job (here)
Angela Barkhouse
Sheri Holt
Darsie Bruno


Thanks for visiting! Hugs!
 

Marisa


Sunday, July 13, 2014

JustRite Papercraft July Release - Christmas Vintage Labels Seven

Hello Friends,
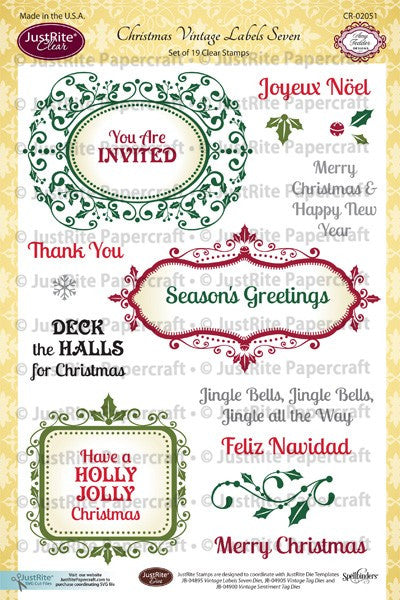
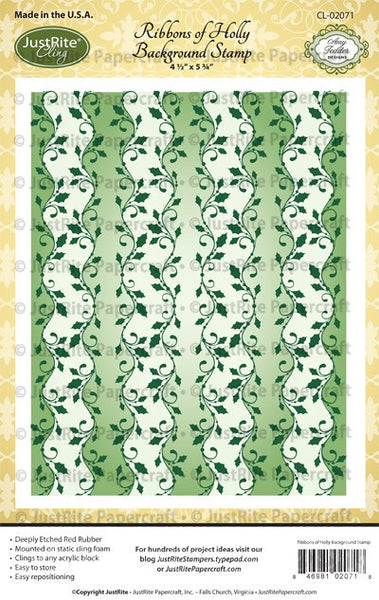
Welcome to Day Seven of the JustRite Papercraft July Release. Today I'm showcasing 2 beautiful sets that go well together, Christmas Vintage Labels Seven Clear Stamps and Ribbons of Holly Cling Background Stamp.


    Christmas Vintage Labels Seven Clear Stamps   Ribbons of Holly Cling Background Stamp


JustRite is having a 20% off sale on all JustRite Dies!! Sale ends July 16th.


Instructions:

1. Make a 6 1/4" x 5" card base with natural white cardstock. Cut a smaller layer in red cardstock and adhere to card.
2. Stamp Ribbons of Holly Cling Background Stamp on natural white cardstock with green ink. Color with distress inks, distress edges and adhere to card.
3. Stamp label from the set Christmas Vintage Labels Seven Clear Stamps, die cut with coordinating die from Vintage Labels Seven Dies. Stamp sentiment in black ink.
4. Die cut 2 of the largest die from Vintage Filigree Layer Dies in red cardstock and glue behind label. Adhere label to card using foam squares.
5. Stamp flowers and leaves with Festive Poinsettia Clear Stamps on natural white cardstock with red ink. Die cut with coordinating dies from Spellbinders Layered Poinsettia Dies. Color edges with distress ink, shape and attach to card with foam squares. Embellish centers of flowers with red rhinestones.
6. Use red seam binding ribbon to make the bow.

Supplies:

JustRite Papercraft:  Ribbons of Holly Cling Background Stamp, Christmas Vintage Labels Seven Clear Stamps, Vintage Labels Seven Dies, Vintage Filigree Layer Dies,  Festive Poinsettia Clear Stamps.
Spellbinders Dies: Layered Poinsettia Dies
Other Supplies: Neenah Paper Natural white Cardstock, Red Cardstock, Memento Black Tuxedo Ink, Ranger Distress Inks, Red Seam Binding Ribbon, Red Pearls, Foam Squares.

Be sure to visit the links below for more inspiration from the JR Design Team.


JustRite Inspiration
Becca Feeken
Michele Kovack
Marisa Job (here)
Heidi Blankenship
Sheri Holt
Darsie Bruno


Thanks for visiting! Hugs!
 

Marisa


Friday, July 11, 2014

JustRite Papercraft July Release - Stitched Sunflowers Vintage Labels Eight

Hello Friends!
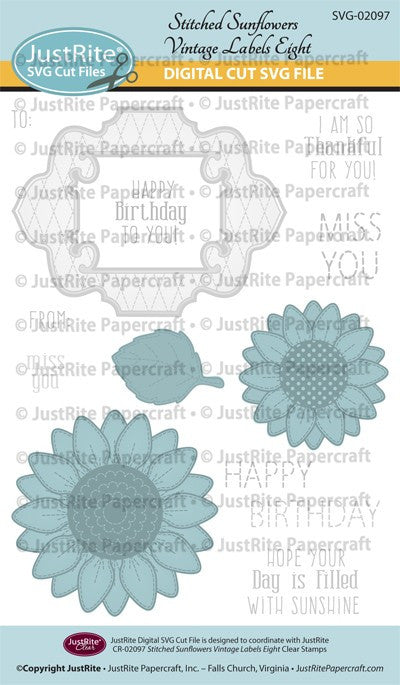
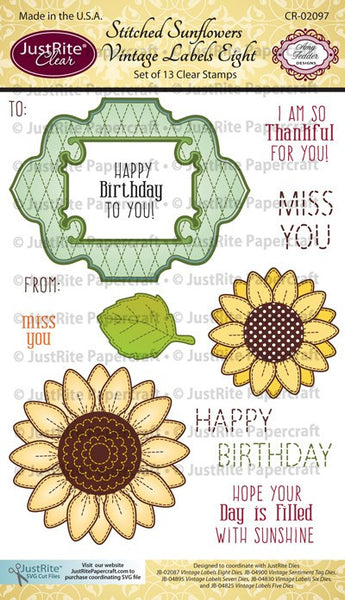
Welcome to Day Five of the JustRite Papercraft July Release. We have another beautiful set to showcase today called Stitched Sunflowers Vintage Labels Eight Clear Stamps. This set coordinates with Vintage Labels Eight Dies and also with SVG Stitched Sunflowers Vintage Labels Eight Cut File.


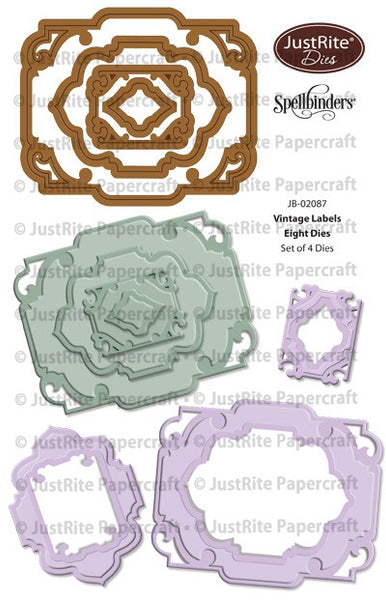
        Stitched Sunflowers Vintage Labels Eight Clear Stamps    Vintage Labels Eight Dies


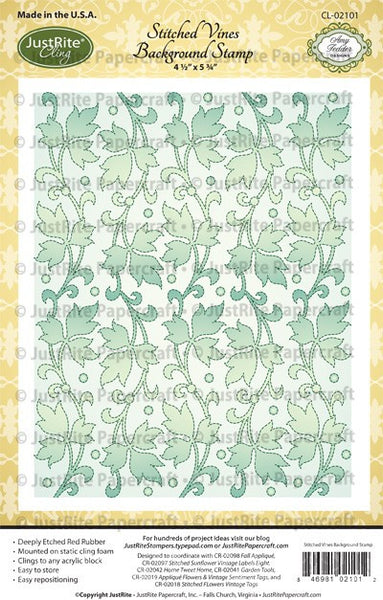
            Stitched Vines Cling Background Stamp


For my card I decided to make an Easel Card. For instructions on how to make an easel card go HERE. After making the easel card base in yellow cardstock, I die cut 2 frames from Spellbinders A2 Divine Eloquence in natural white cardstock and adhered to card front and also inside of the card.
Next I die cut 2 Spellbinders Labels Twenty Eight. I stamped both pieces with Stitched Vines Background Stamp with Versamark and heat embossed with white embossing powder. I colored background with Spectrum Noir markers and distress inks and then adhered to card.
I stamped label from Stitched Sunflowers Vintage Labels Eight Clear Stamps on natural white cardstock with Versamark and heat embossed with white embossing powder. I die cut label with coordinating die from Vintage Labels Eight die set and colored with markers. I stamped sentiment on label and adhered to card center.
I stamped sunflowers and leaves with Versamark and heat embossed with white embossing powder. I fussy cut flowers and then colored with Spectrum Noir. I attached flowers and leaves to card using foam squares.
 
 
Supplies:
 
Other Supplies: Neenah Paper Natural White Cardstock, Spectrum Noir Markers, Ranger Distress Inks, Foam Squares, Versamark, White Embossing Powder.
 
 
Be sure to visit the links below for more inspirations from the Design Team.
 
 
Thanks for visiting! Hugs!
 

Marisa


Thursday, July 10, 2014

JustRite Papercraft July Release - Fall Applique Clear Stamps

Hello Friends!
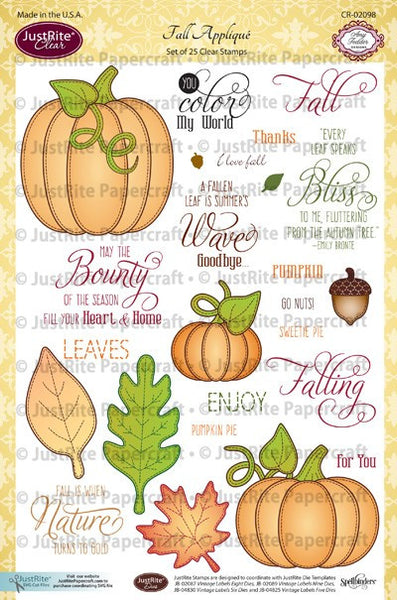
Welcome to Day Four of the JustRite Papercraft July Release. Today we are showcasing a new beautiful set of 24 clear stamps called Fall Applique Clear Stamps. This set coordinates with Fall Applique Digital Cut SVG File Download.
For my project I decided to make a candy basket using the cute pumpkin images. I hope you are inspired to make one too.


 Fall Applique Clear Stamps   SVG Fall Applique Digital Cut File Download for CR-02098


To make the base for the basket I used Spellbinders Hexagon Petal Envelope. Using the Grand Calibur I die cut and embossed the envelope in black cardstock and glued sides together with a small cardstock circle to form the basket. For the handle I cut a 3/4" x 10" piece of black cardstock and attached to basket. To see more pictures and details on how to make a basket with this die go HERE.
I used my electronic cutter and Fall Applique Digital Cut SVG File to cut the pumpkins and leaves in green and orange cardstock but you can also fussy cut all the pieces after stamping.
After cutting all the pieces I stamped the pumpkins and leaves with black ink. I attached the pumpkins to basket sides and the leaves to the handle and basket base as pictured.
I stamped sentiment on a smaller pumpkin, attached to ribbon and wrapped around candy bag.

Supplies:

JustRite Papercraft: Fall Applique Clear Stamps, Fall Applique Digital Cut SVG File.
Spellbinders Dies: Spellbinders Hexagon Petal Envelope
Other Supplies: Black, Orange and Green Cardstock, Memento Tuxedo Black Ink, Ranger Distress Ink Pads, Candy, Cellophane Bag, Hemp Cord.


Be sure to visit the links below for more inspiration from the JustRite Design Team.

JustRite Inspiration

Debbie Olson
Eva Dobilas
Darsie Bruno 
Marisa Job (here)
Michele Kovack
Amy Tedder
Sheri Holt 
Heidi Blankenship 
Kristi Schurr  
Angela Barkhouse 
Kathy Jones


Thanks for visiting! Hugs!
 

Marisa


Tuesday, July 8, 2014

Heartfelt Creations July Release - So Glad You're My Friend

Hello Friends!
Have you ever wished for a magic wand that creates professional looking layouts, perfectly matted cards, and multi-layered paper crafting projects in the wink of an eye? The revolutionary Cut, Mat, Create Collection from Heartfelt Creations is a unique system designed with stress-free crafting in mind. You can finally liberate cherished family photos hidden away in dusty shoe boxes and create stylish scrapbook pages with ease—and without restrictive plastic pockets!  The dies create a grid that fits perfectly on a 12" page, allowing for limitless layout possibilities.  Use with stamps and papers to create precisely matted cards or mini albums.  The 4 die sets contain 27 individual dies. The 6 coordinating stamp sets also complement previous collections. The luxurious papers work hand in glove with both dies and stamps. Whether you are a paper crafting novice or a design diva, you will love the freedom, simplicity and versatility of this innovative, must have collection.

For my project today, I decided to use the new Cut, Mat, Create dies to make a card. It was great to die cut all the panels for my card without any measuring. Love these new dies!!


Heartfelt Creations Products and Products Carried by HC:

 
Other Products Used:
Neenah Paper Natural White Cardstock, Memento Black Tuxedo Ink, Ranger Distress Ink, Foam Squares, Copic Markers.

Project Instructions:
Make a 6 ½” x 6 ½” card base. Cut 2 smaller layers using Cut, Mat, Create Paper Collection. Die cut 4 Squares measuring 2 ½“ using Cut, Mat Create Set 2A Die and mat with contrasting paper using Cut, Mat Create Set 2B. Adhere to card using foam squares.
Die cut corners from Cut, Mat, Create Set 2 B in natural white cardstock, adhere to card corners under squares.  Stamp flowers from Summer Song set on natural white cardstock with black ink. Color with Copic Markers. Stamp sentiment from Vines and Blooms set. Die cut with Cut, Mat, Create Set 1A Die and mat with Cut, Mat, Create Set 1B Die. Adhere to center of card using foam squares.
Die cut large swirly leaves from Cut, Mat, Create Set 2B, cut in half and adhere to card corner. Stamp and die cut Ariana Blooms using natural white cardstock, color with distress inks, shape and glue to card corner. Use smaller flowers for the center of the card. Using glue, add purple prills from the Bright Ideas Prills to flower centers.

Be sure to visit the Heartfelt Creations Blog for more inspiration.

 
Thanks for visiting! Hugs!
 

Marisa


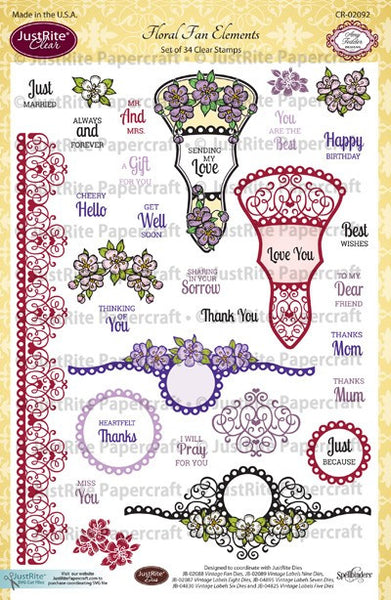
JustRite Papercraft July Release - Floral Fan Elements

Hello Friends!
Welcome to Day Two of the JustRite Papercraft July Release. I just love this beautiful set called Floral Fan Elements Clear Stamps which coordinates with Vintage Fan Dies. I had fun making this card, it was actually pretty simple to make, all the work is in the stamps and dies.


  Floral Fan Elements Clear Stamps      Vintage Fan Dies
 
 
I started by making a 6" x 6" card base with natural white cardstock. I cut another 6 3/4" x 6 3/4" square and punched around all 4 sides with Martha Stewart punches. I adhered this panel to card base and then covered with designer paper.
I stamped the fan image 7 times with Versamark on natural white cardstock and heat embossed with white embossing powder. I stamped sentiment and then colored with distress ink and Spectrum Noir markers. I die cut all the fan pieces with coordinating die. I also die cut decorative pieces and attached to fan as pictured. I used silk ribbon to make bow to gather all the pieces and then adhered to card base with foam squares.
For the flowers and leaves I used Spellbinders Rose Creations, Bitty Blossoms, Sprigs and Foliage.
 
Supplies:
 
Spellbinders Dies: Rose Creations, Bitty Blossoms, Sprigs and Foliage.
Other Supplies: Neenah Paper Natural White Cardstock, Designer Paper, Ranger Distress Ink Pads, Spectrum Noir Markers, Pearls, Foam Squares, Martha Stewart Punches.
 
Be sure to visit the links below for more inspiration from the Design Team.
 
 
JustRite Inspiration
Darsie Bruno
Michele Kovack
Eva Dobilas
Sheri Holt
Marisa Job (here)
Margie Higuchi
Kristi Schurr 
Angela Barkhouse


Thanks for visiting! Hugs!
 

Marisa


Monday, July 7, 2014

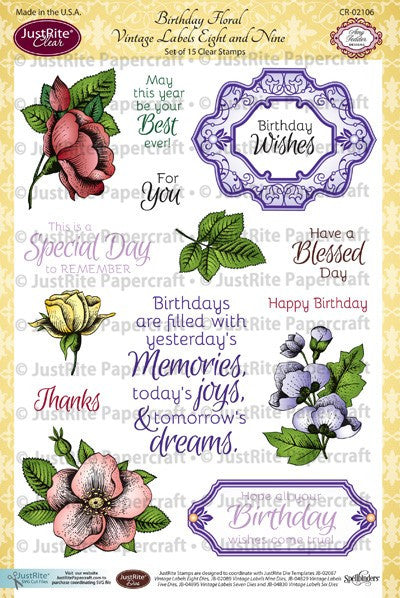
JustRite Papercraft July Release - Birthday Floral Vintage Labels

Hello Friends!
Welcome to Day One of the JustRite Papercraft July Release. Today we are showcasing a beautiful set of 15 clear stamps called Birthday Floral Vintage Labels Eight and Nine Clear Stamps which coordinates with the new Vintage Labels Eight Dies.


  Birthday Floral Vintage Labels Eight and Nine Clear Stamps   Vintage Labels Eight Dies


I started by making a card base using Spellbinders A2 Tranquil Moments dies and natural white cardstock. I stamped the label from  Birthday Floral Vintage Labels Eight and Nine Clear Stamps with Versamark and heat set with white embossing powder. I die cut label with coordinating die from Vintage Labels Eight Dies and then colored with Spectrum Noir Markers. I stamped sentiment in brown ink and adhered label to card with foam squares.
I stamped flowers with Versamark and heat set with white embossing powder. I fussy cut flowers, colored with Spectrum Noir Markers and adhered to card with foam squares. I used purple silk ribbon to make the bow.

Supplies:

JustRite Papercraft:  Birthday Floral Vintage Labels Eight and Nine Clear Stamps, Vintage Labels Eight Dies.
Spellbinders:  A2 Tranquil Moments
Other Supplies: Neenah Paper Natural White Cardstock, Versamark, White Embossing Powder, Memento Brown Ink, Spectrum Noir Markers, Silk Ribbon, Foam Squares.


Be sure to visit the links below for more inspiration from the JustRite Design Team.


JustRite Inspiration
Debbie Olson
Kristi Schurr
Eva Dobilas
Kathy Jones
Angela Barkhouse
Darsie Bruno
Marisa Job (here)
Michele Kovack 
Sheri Holt

 
Thanks for visiting! Hugs!
 
Marisa